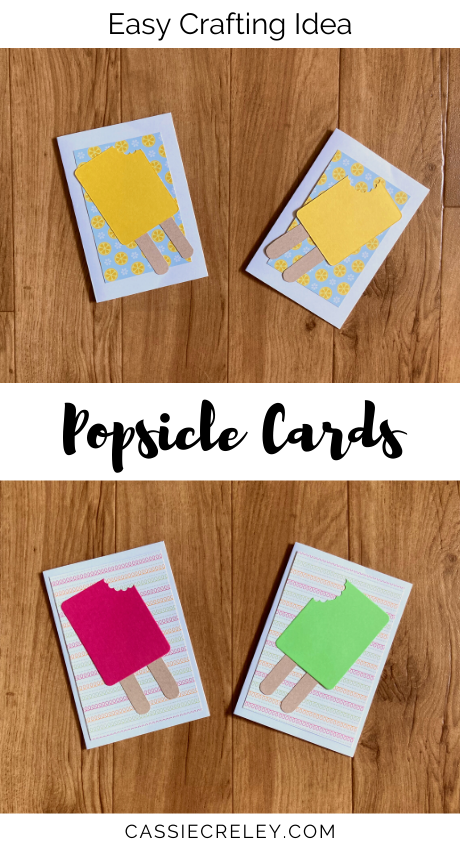
Easy Popsicle Cards
Summer is my favorite season, and I’m quick to point out that it lasts until September 21. So there’s still plenty of time to send summery greeting cards! This design for a popsicle card is quick, easy, and so cheerful.
I love thinking up new ways to be creative in spite of my health issues and fatigue. Cards are a great craft project that doesn’t use too much energy.
This post contains Amazon affiliate links, which means I receive a small portion of sales, at no additional cost to you. Thank you for supporting my blog through your purchase!
I’ve always loved snail mail, and when dealing with chronic illness, it’s an even better way to keep in touch. Add to that the fact that we are in a pandemic and I’m still sheltering at home due to being high risk—sending a card has never been a better way to keep in touch and send a long distance hug.
Here are more of my ideas for Stay Connected From a Distance.
These popsicle cards are fun reminders of simpler times, of running to catch the ice cream truck as kids and savoring popsicles on a hot summer day.
I was inspired to make these cards when I noticed my mom watching a tutorial on how to use popsicle diecuts to make cards. I figured I could make a similar design with what I already had. Even if you don’t have all of the supplies I do, you can easily modify this design and whip up a batch of popsicles yourself.
PS want more summery cards? I have a free sunshine-themed printable.

Here’s what you need to make the cards:
– A rounded rectangle diecut for your Sizzix big shot machine. Or use a Fisksars paper trimmer or scissors to cut a rectangle.
– A flower punch to look like a bite in the popsicle, or you can freehand this. (Here’s a similar one.)
– Light brown paper for the popsicle sticks.
– Fun background paper (this is similar to the stack I have).
– Paper for the popsicle colors, Plus white paper for the cards.
– Tape and/or glue
Assembling the popsicles cards:
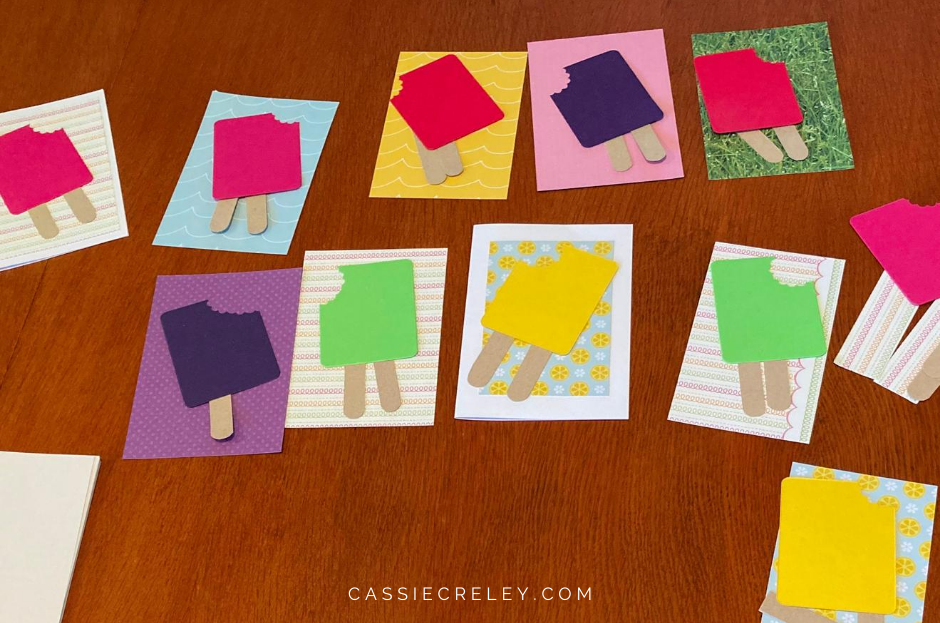
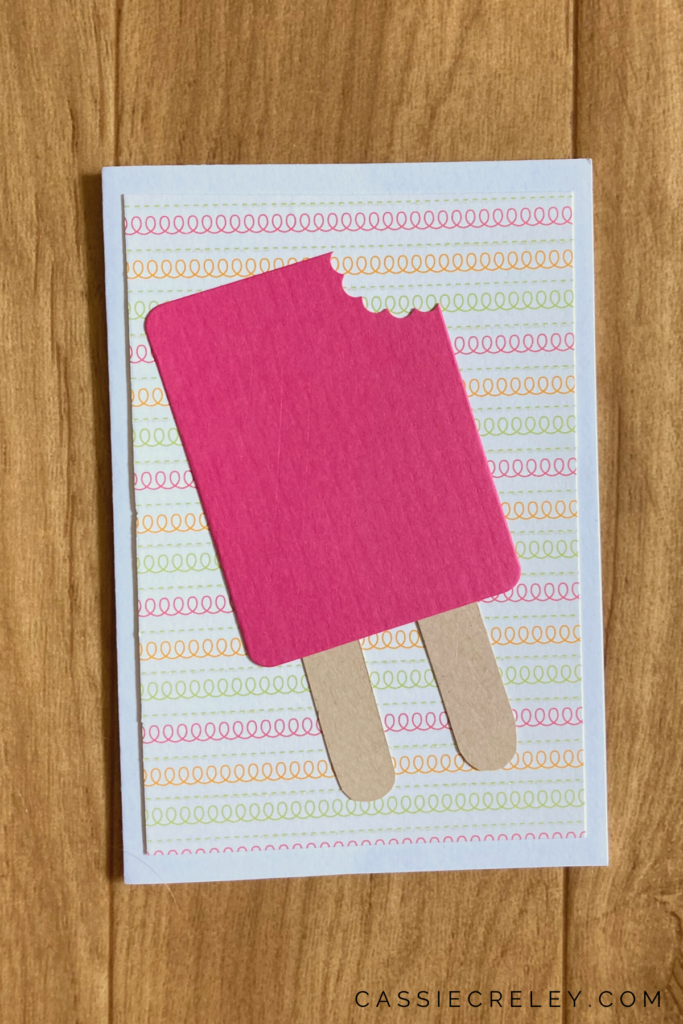
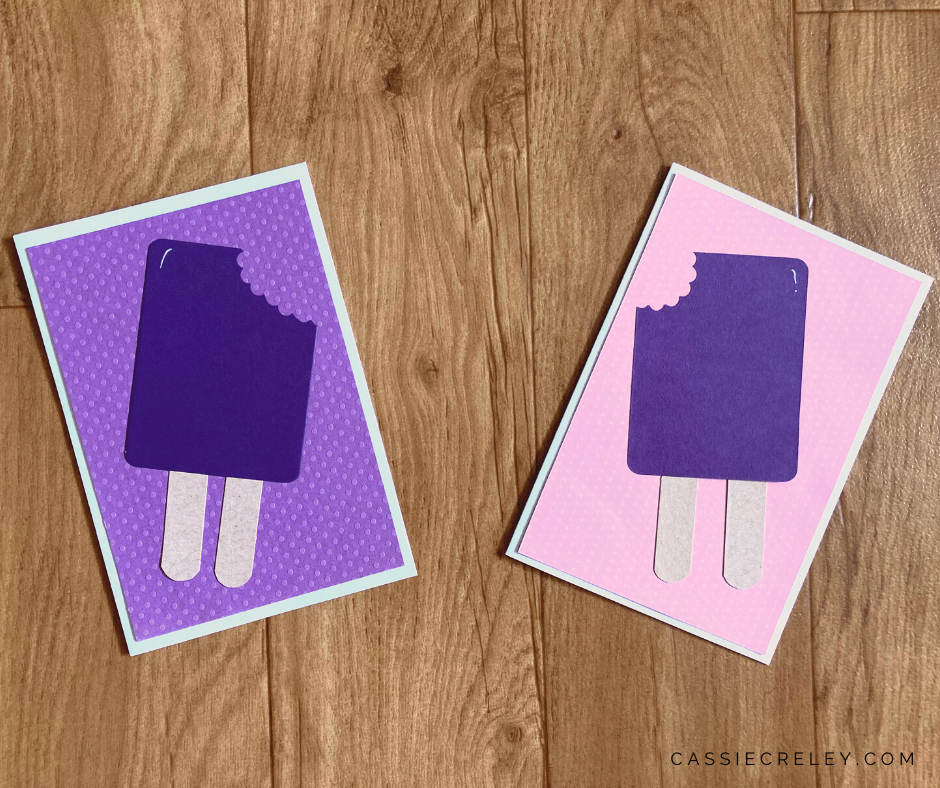
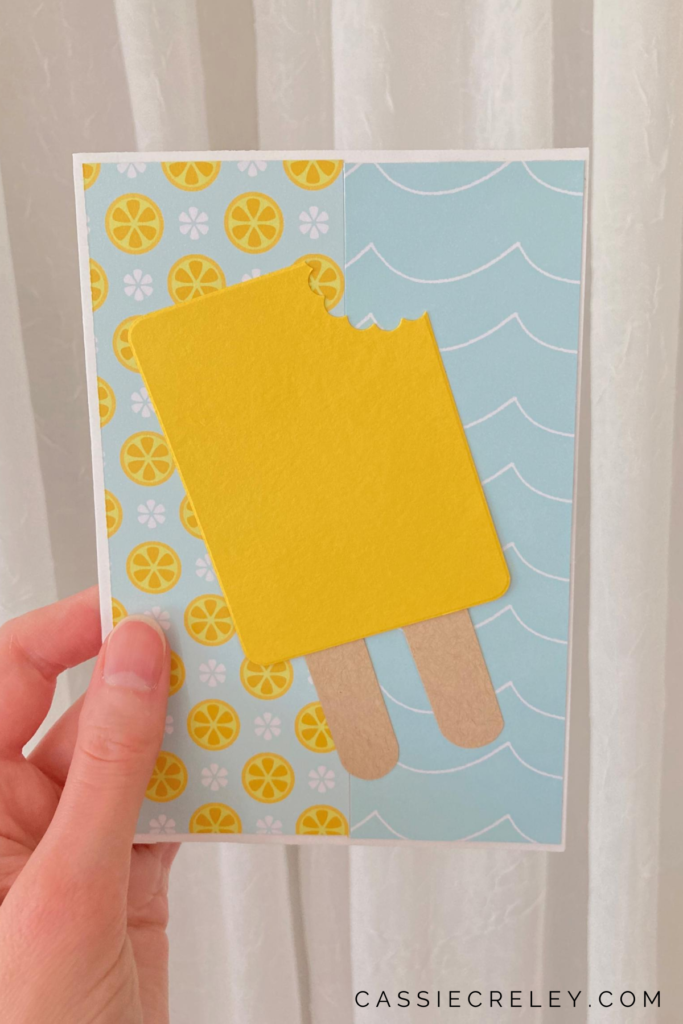
Cut out your rectangles. If you’re cutting them freehand, round the corners.
Use the flower punch to cut the bite.
Cut brown paper into strips about the width of your finger. Round the edges with scissors.
Tip: flip the popsicles upside down and tape the sticks to the back. This will make it much easier to position the popsicle where you want.
Cut out matching backgrounds for each popsicle. I used a variety of colors and sizes depending on what I had.
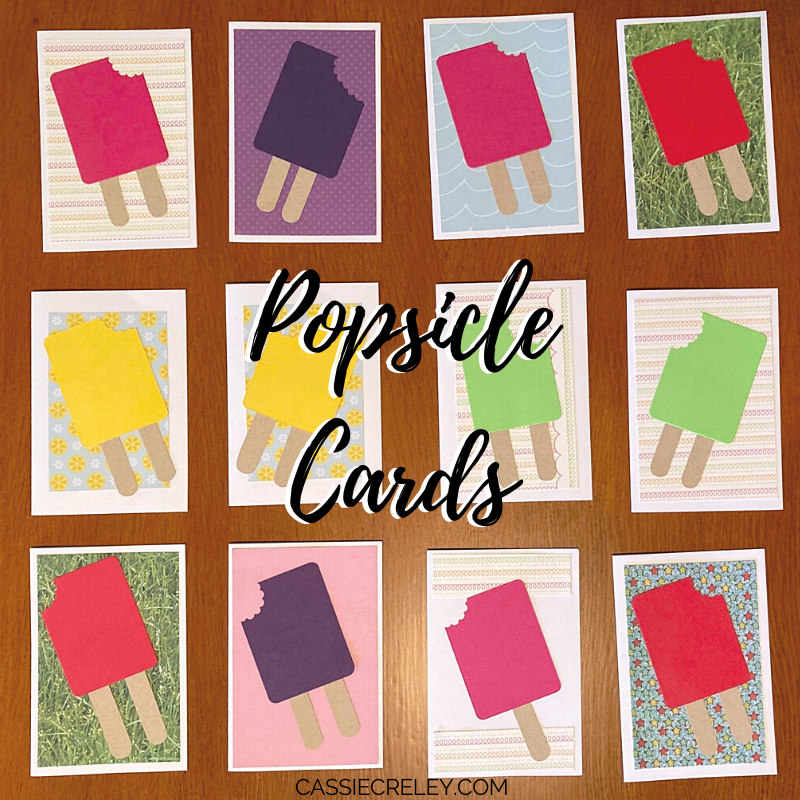
Ta-da! Here is my batch of popsicle cards.
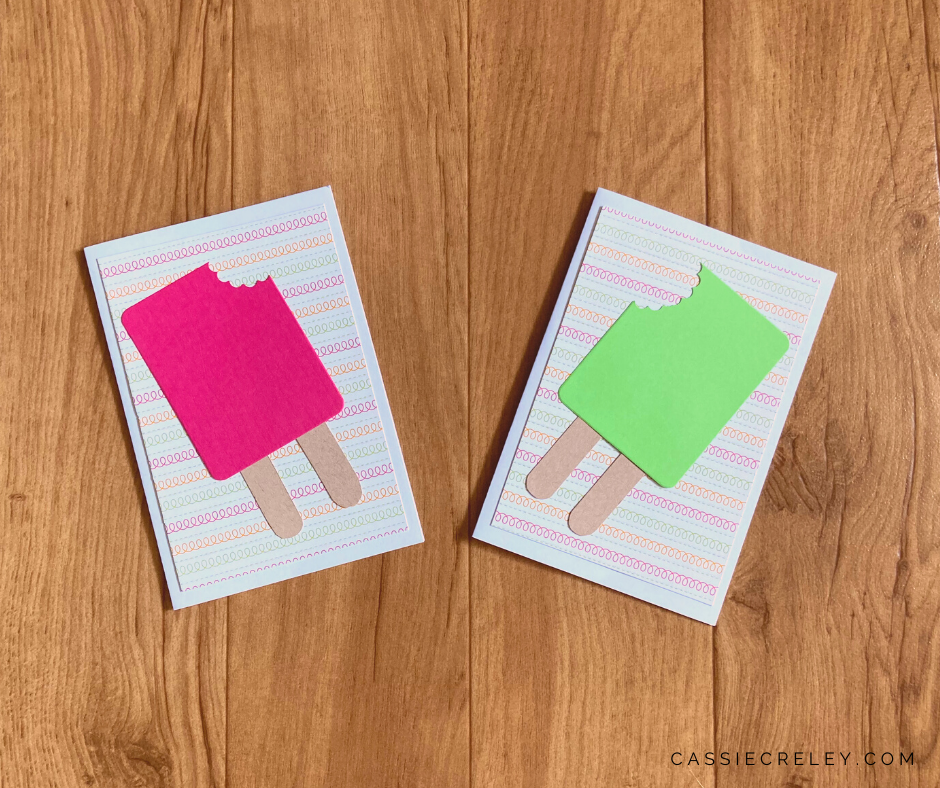
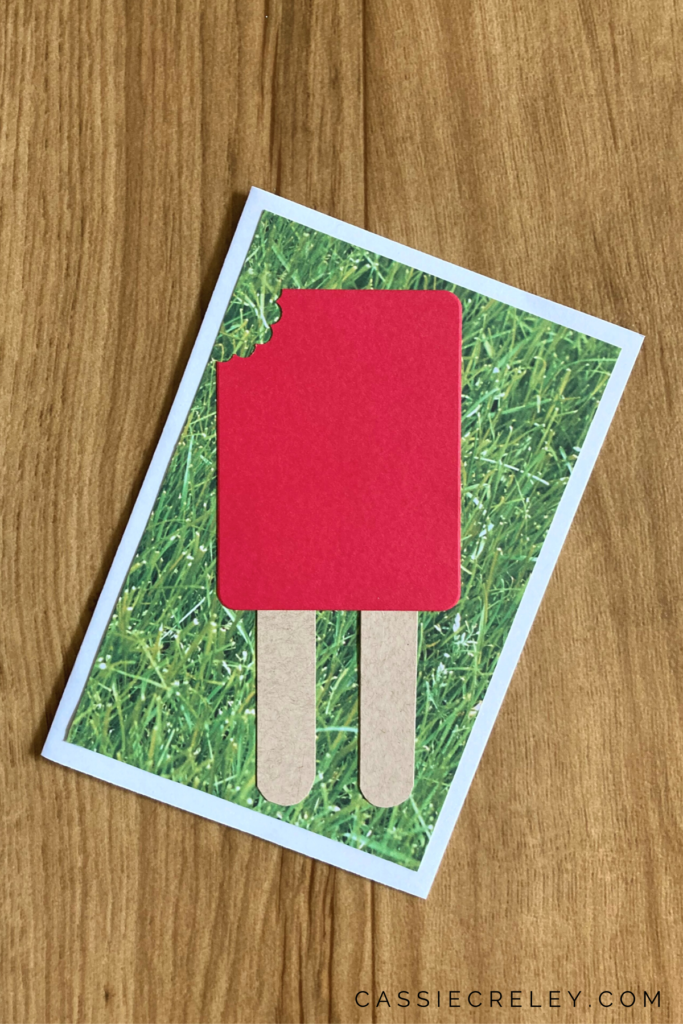
And I had to make myself a card to keep with the leftovers!
I hope you enjoyed this fun way to be creative and keep in touch with those you love!
Find more card-making ideas here.
Also, follow me on Pinterest. I collect card inspiration here.
Are you writing more letters or sending more cards lately?
How are you making time to be creative this summer?
Pin it!
Buy the supplies:


You may also like:
Send A Box of Sunshine + Free Card Printables
Easy & Affordable Ideas For Summer Fun
Simple Card Ideas: Playful Borders


You May Also Like
Gift Idea: Mommy and Me Craft Kits
Gift Idea: Create a Card Making Kit